If you want to create screens for screen printing, you'll need the following materials and equipment:
1. Screen Frame: Start with a screen frame made of wood or aluminum. The frame should be more significant than the design you want to print.
2. Mesh: Choose the appropriate mesh fabric for your project. The mesh count determines the level of detail and ink flow. Lower mesh counts (e.g., 110-160) are ideal for fabric printing, while higher mesh counts (e.g., 200-305) are better for finer details or printing on paper and other flat surfaces.
3. Emulsion is a light-sensitive liquid that coats the mesh and allows image transfer. Choose either photo-emulsion or direct-emulsion, depending on your preference and the complexity of your design.
4. Emulsion Coater: Use a scoop or emulsion coater to apply emulsion evenly to the mesh. This tool ensures a consistent and smooth coating.
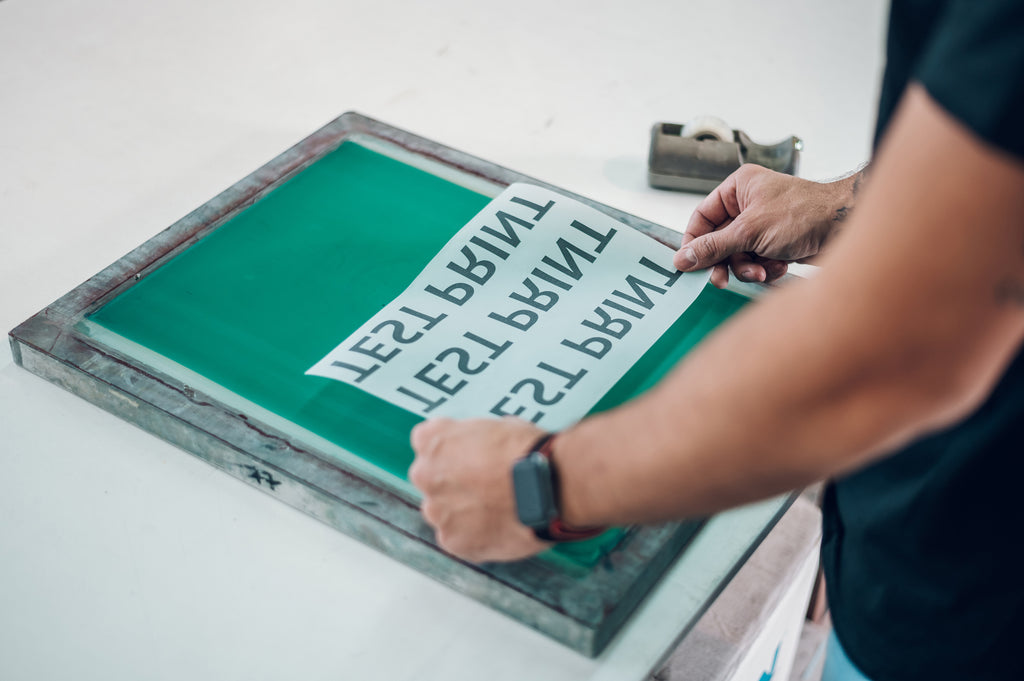
5. Artwork: Prepare your artwork or design on a transparent film or vellum using black ink or a digital printout with dense, opaque ink.
6. Light Source: You'll need a UV light source, such as a light table or exposure unit, to expose the screen with the artwork.
Here's an overview of the screen-making process:
1. Clean the screen frame: Ensure the screen frame is clean and free from any debris or dust.
2. Coat the screen with emulsion: Place the screen on a flat surface and apply the emulsion to one side of the mesh using the emulsion coater. Make several passes to achieve an even coating.
3. Dry the emulsion: Let the emulsion-coated screen dry in a dark, dust-free area. This process typically takes a couple of hours or as the emulsion manufacturer directs.
4. Prepare your artwork: Place your artwork or design on top of the dried emulsion-coated screen, ensuring it is appropriately aligned.
5. Expose the screen: Expose the screen to UV light using the light source. The light will harden the emulsion except where your artwork blocks it. The exposure time depends on the emulsion and light source, so refer to the manufacturer's instructions.
6. Rinse and dry the screen: Rinse the exposed screen with water, using a gentle spray to wash away the unexposed emulsion. This will reveal your design. Once rinsed, let the screen dry completely.
7. Touch-up and block out: Inspect the screen for imperfections or pinholes. Use screen block-out or tape to seal areas you don't want the ink to pass through.
Your screen is now ready for screen printing. Place it on a printing press or secure it on a flat surface, align it with the substrate, apply ink, and use a squeegee to pass the ink through the mesh onto the material.
Note: The screen-making process can vary depending on the materials and techniques used. It's recommended to follow the instructions provided by the emulsion and equipment manufacturers for best results.